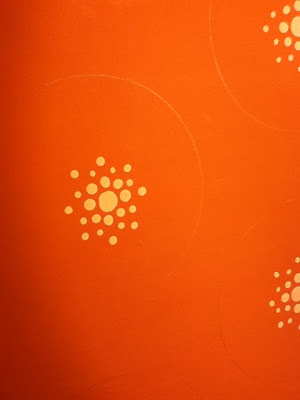
and really made it my own to make what I wanted for the happy family.
Here's how:
Supplies
canvas
acrylic paints
paint brushes (one with a thin handle and one with a thicker handle... you use the bottoms of the brush handles to make the dots)
a bowl (for tracing)
pencil
Directions
First, paint the whole canvas the color you want the background. Let dry completely.

Next, I took a bowl of the size I wanted the main circles and outlined it with a pencil. I measured 4 circles then 3, then 4, then 3 again across the canvas. Staggering the circles and offsetting the pattern to create cut up circles on the edges. Then, finding the center, I dipped the large handle of the paintbrush in the paint and placed a single dot in every circles center. Don't worry if the dot isn't perfectly centered, there is something perfect about not having perfect measurements in art :)
Then, put 8 dots around the center dot. I think about putting a dot "North" "South" "East" "West", and then put a dot in between.
Continue the dot pattern as shown above using the handle of the small brush for the small dots.

Now here is where it gets complicated but very very forgiving for creativity! Take the small handled brush and put TONS of dots around the pencil tracing. Don't be afraid to go outside the line and inside the line. Play with a little more paint on the small brush to get slightly bigger dots, and then barely touching the canvas for the smallest dots.

I also did dots in between the circles, being very careful to leave enough room between each dot grouping, as to keep the defined circle look. The in between dots look like triangles and hour-glasses (if that helps!). Remember, to add some bigger dots, use that bigger paint brush handle.

I really just added dots to anywhere that I felt needed them. Paint till it looks right for you! and...FINISHED pattern! This picture is a better representation of the colors I used (a dark reddish pink, and a light pastel pink).
Allow dots layer to dry completely if you wish to paint any thing more on your canvas. I chose to personalize the painting for the baby expecting family. Here it is!
FINISHED PROJECT:

Now this project took a couple days because you have to wait for paint to dry before moving on to the next layer. The dots part of the painting takes a couple hours. I didn't time it, but it is time consuming. Watch some tv while you do it, and time flies by! Also, take breaks. It breaks a big task up into smaller time chunks. :D
Happy Painting!
No comments:
Post a Comment